


User Roles and Permissions has been updated. Check out what's changed here.
WhatConverts opens up the door to lead data that can be useful to a lot of different users—you, your team, your clients… the list goes on.
That being said, what if it doesn’t make sense for every user to have the same level of access to that data? For example, maybe you don’t want clients to be able to see admin settings like white labeling, billing info, and more.
No problem.
WhatConverts makes it easy to create and assign access permissions for any of your users.
Plus, permissions are highly customizable, so you can tweak them to match your exact needs.
What You Can Do With User Roles & Permissions
Let’s say you and your team are using WhatConverts to track leads for your clients. But you also offer those clients a white-labeled dashboard (they love the transparency).
Now, as an agency manager, you’d like to have full access to everything inside WhatConverts. You also want to limit your team and their staff from adjusting specific settings (security, profiles, admin).
On top of that, you certainly don’t want your clients rummaging around in your billing information, integrations, or field mapping settings.
All in all, you’d like to create different and precise permission settings for:
- Yourself
- Account managers
- Marketing assistants
- Clients
With WhatConverts, setting up these nuanced User Roles takes just a minute. You’re given enormous flexibility over what each role can both see and interact with. And at the end of the day, that means your team works more efficiently, and your clients get the information they need to know your marketing is working.
Setting Up User Roles & Permissions
There are two steps to applying User Roles & Permissions:
- Set up your roles
- Assign your roles
Step 1: Set Up Your Roles
- Log into your master account, select “Master Account Settings” from the Control Center, and then click “Roles”.
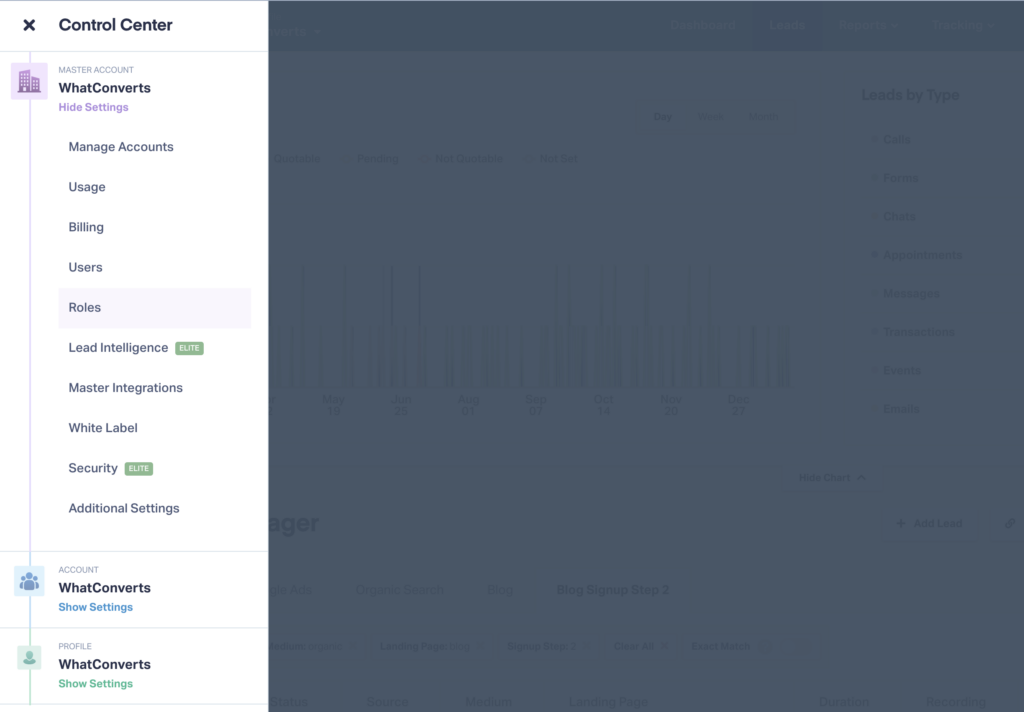
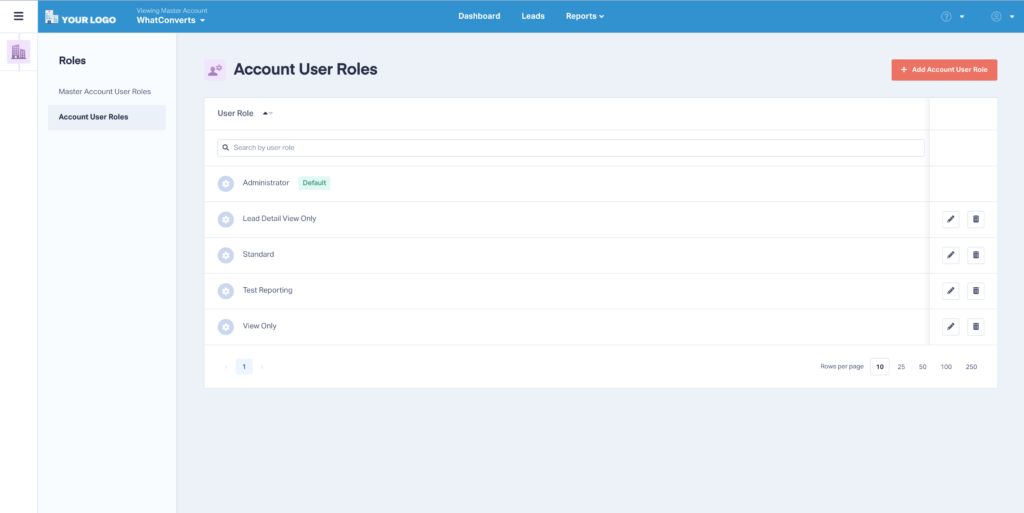
- Choose “Account User Roles” in the left navigation and then “+ Add Account User Role” in the upper right.
- Name your User Role something descriptive (e.g., Lead Detail View Only).
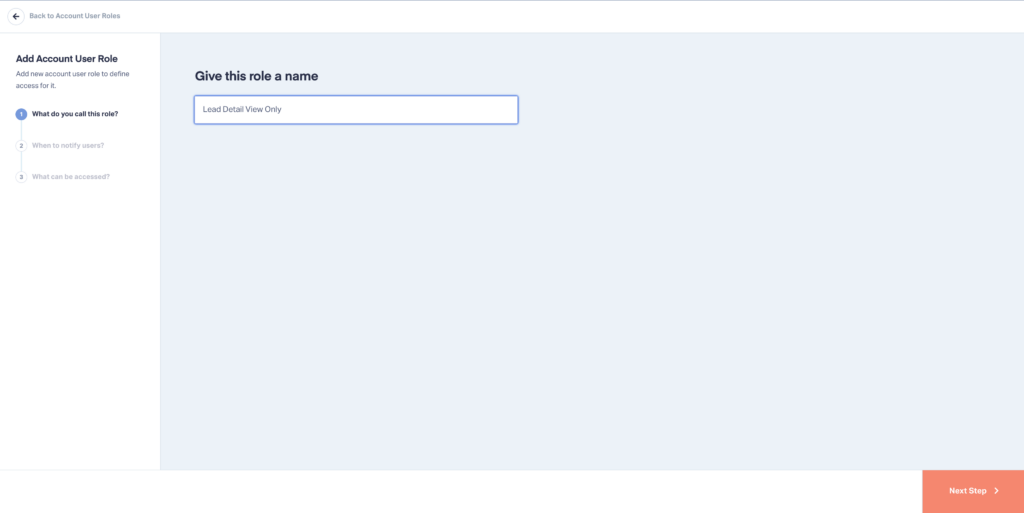
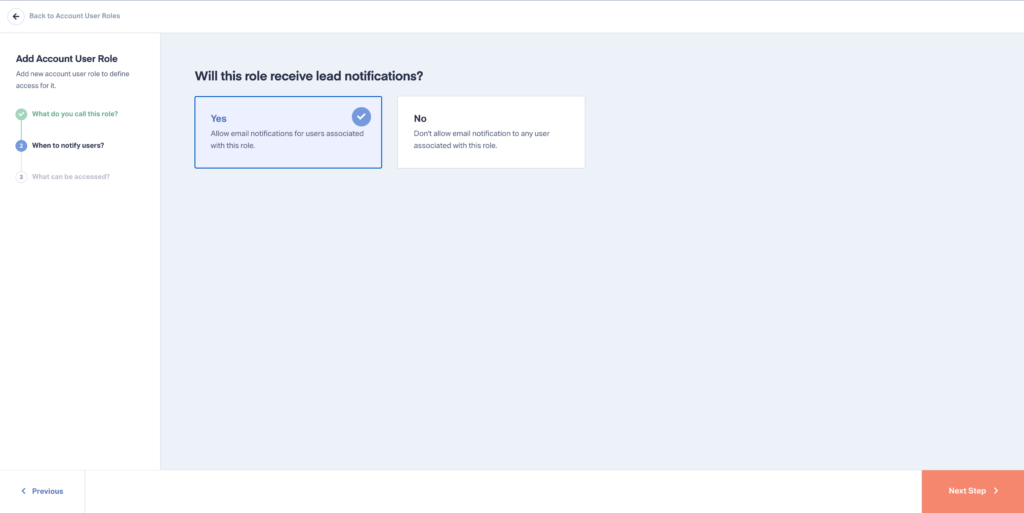
- Choose whether the new role should receive lead notifications.
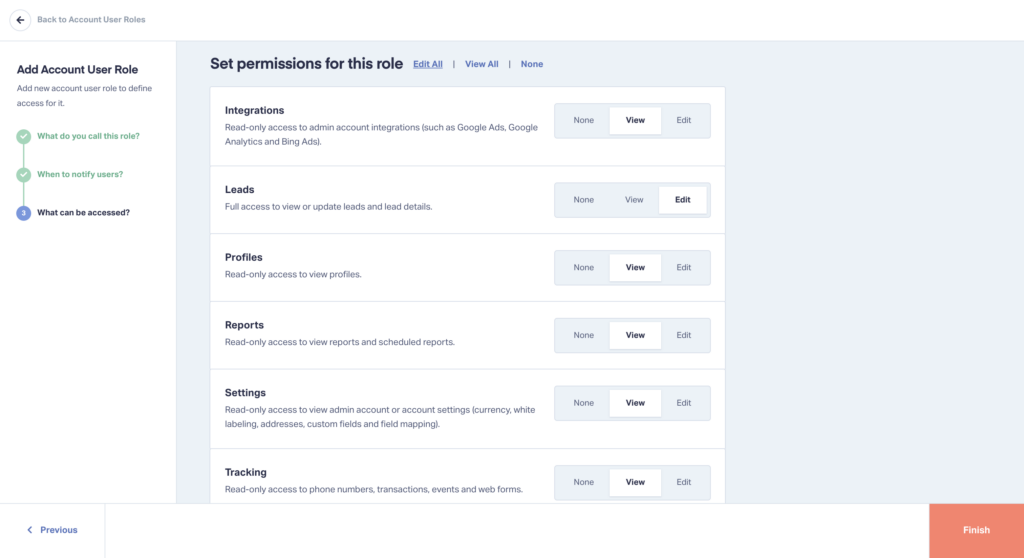
- Set the permissions for this role. The descriptions for each change depending on which option you select (None, View, or Edit). Then click “Finish”.
- You’ll then be directed back to the Account User Roles screen where you can delete or edit any of your saved User Roles.
Step 2: Assign Your Roles
- Select “Master Account Settings” from the Control Center, and then click “Users”.
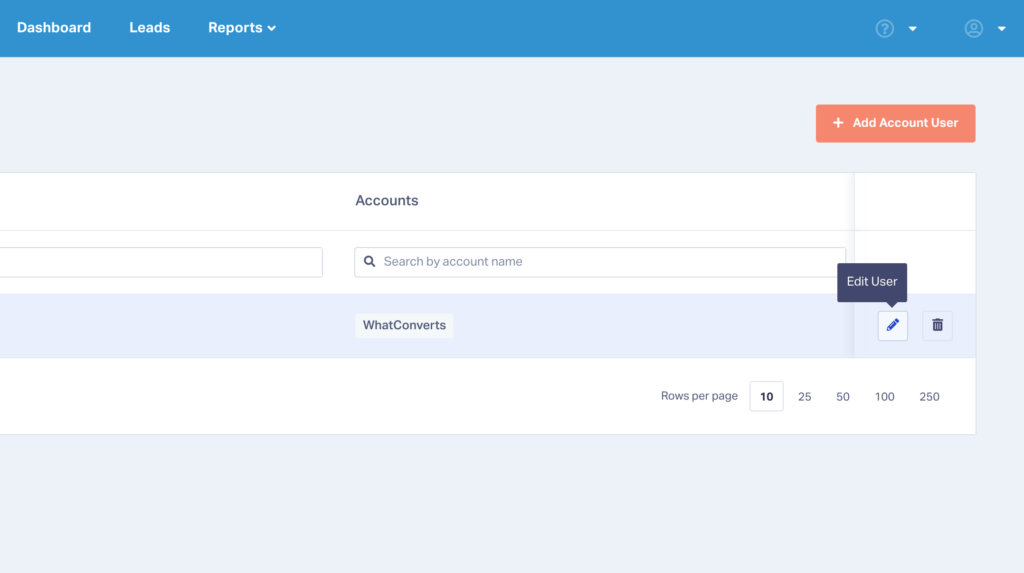
- Choose “Account Users”, find the user you’d like to assign your User Role to, and then click the edit button.
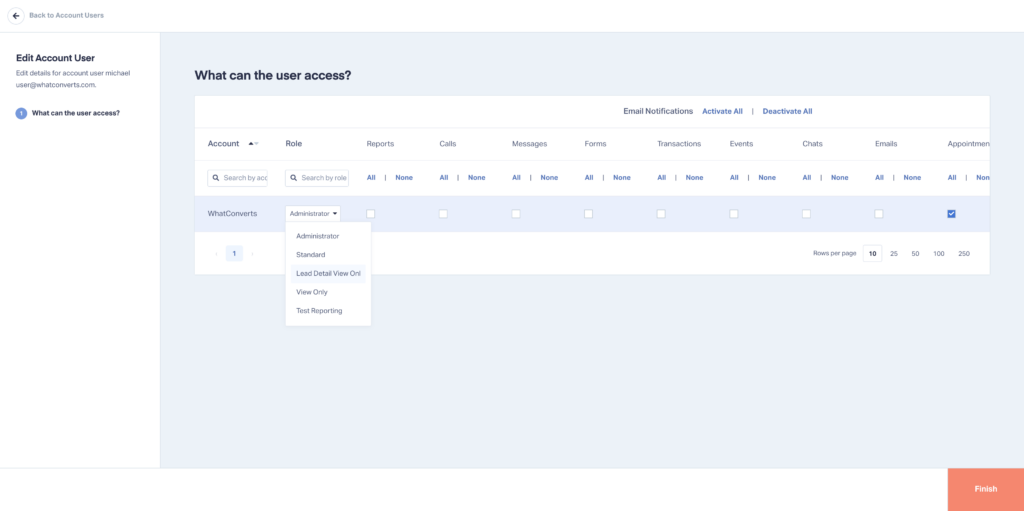
- Select the User Role from the Role dropdown and click “Finish” to apply your new permissions to the user.
That’s it!
For more on how to set and assign User Roles & Permissions, check out the guide below.
Need Help?
Our support team is happy to help you set up your User Roles & Permissions.
Get a FREE presentation of WhatConverts
One of our marketing experts will give you a full presentation of how WhatConverts can help you grow your business.
Schedule a Demo
Grow your business with WhatConverts


