


Customization is at the heart of WhatConverts.
From Field Mapping and Dimension Grouping to Custom Views and User Permissions, there are plenty of ways for marketers to make the platform their own.
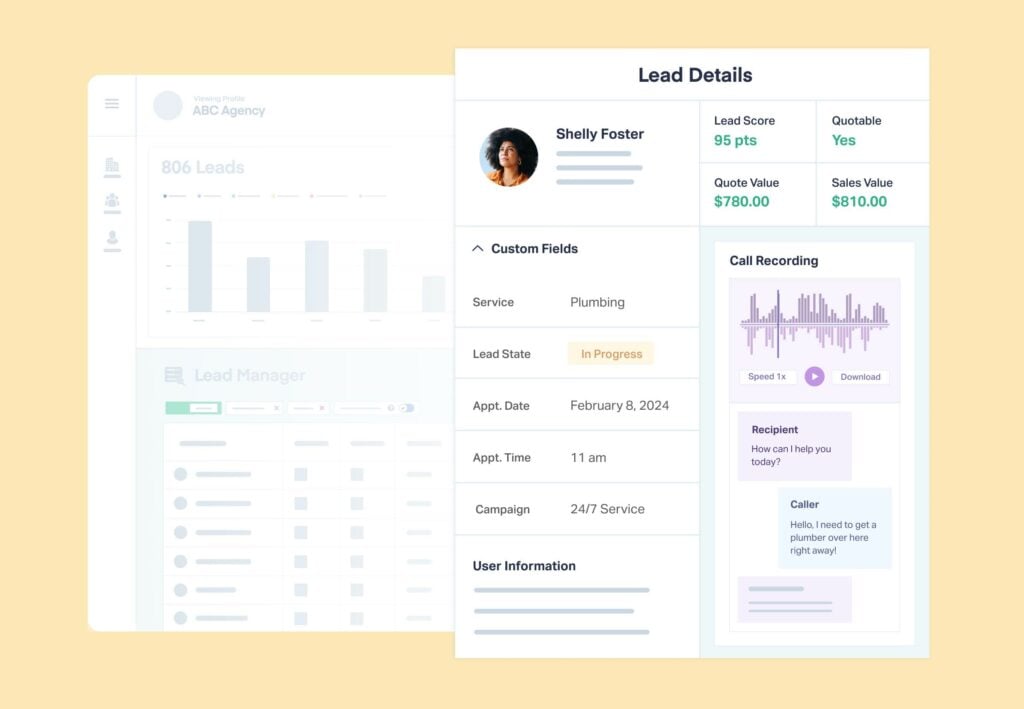
Custom Fields is another great way to fine-tune the lead data you see and get insights from.
With it, you can add data fields that you define to your leads.
For instance, you can add fields like:
- Call Needs Client Review
- Lead Is Ideal Customer Profile (ICP)
- Service Type
- Appointment Date
Best of all, you can filter, sort, and report based on these custom fields too.
What You Can Do With Custom Fields
Let’s say you’re generating phone call leads for an HVAC client.
These leads show a lot of buyer intent. However, 50% of the time they don’t turn into a sale—much higher than the industry average.
After reviewing these leads in WhatConverts, you discover the problem is calls are sometimes being answered with:
- “What?”
- “Yeah?”
- [Silence…]
In order to bring these calls to the client’s attention (and to help them realize it’s their sales team that’s the problem), you want to be able to flag these calls for your client’s review.
So you add a Custom Field for “Client Review” where you can select Yes or No for a call.
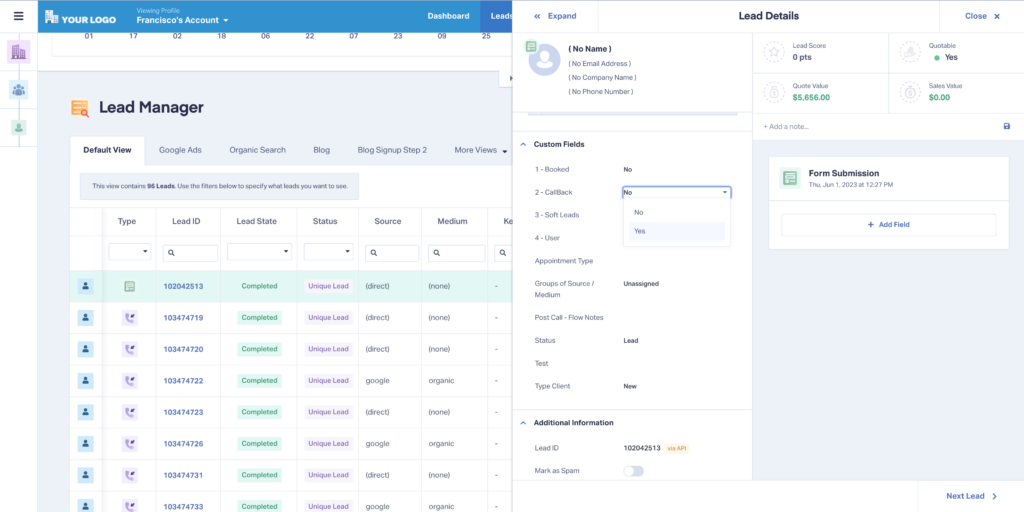
Now the client can simply sort their Lead Manager by the “Client Review” column created by your Custom Field and see which calls are being handled poorly by their team.
You can also run monthly reports based on this new Custom Field, opening up the door to insights like:
- Changes in the sales team quality
- Channels creating the most problem calls
- Sales reps with the best track record
Last but not least, you can even create a new Custom View for your client that highlights only these problem calls. That way as soon as they log in, they can see exactly which calls need review—no searching or filtering needed.
Setting Up Custom Fields
Creating Custom Fields only takes a minute.
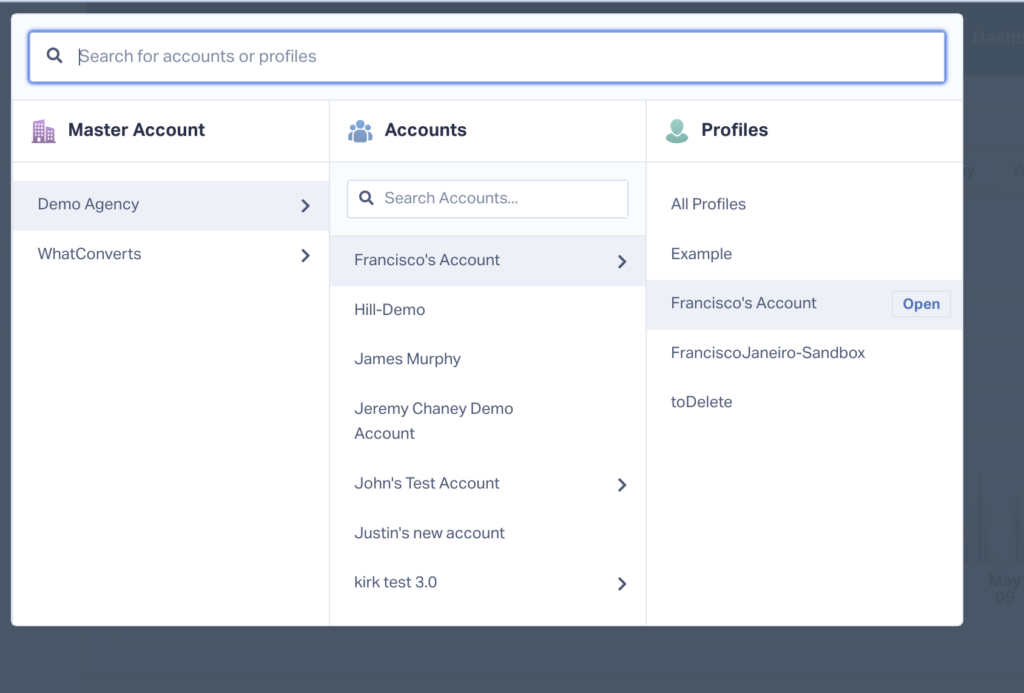
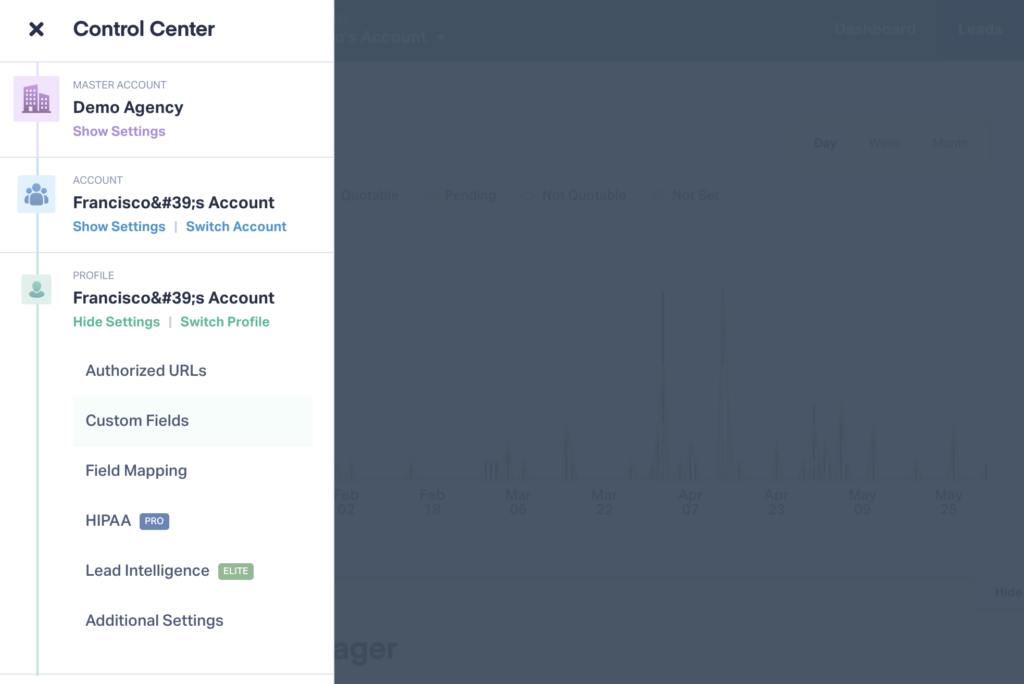
- First, log into WhatConverts as a Master Account. Then navigate to the profile you’d like to set up Custom Fields in.
- Choose “Custom Fields” from the left-side navigation under Profile.
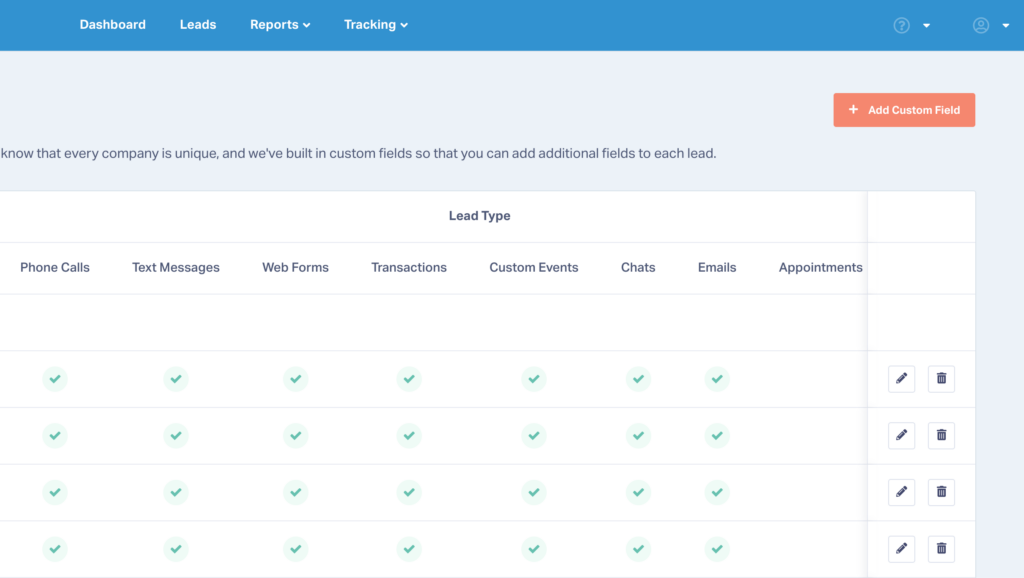
- Click “+ Add Custom Field” in the upper right corner.
- Enter a Custom Field Name. This is what your Custom Field will appear as both as a Column and under the Lead Details section within the Lead Manager.
- Select your Field Type. You can either use “Text” which will let you input custom values or you can select “Dropdown” and create the dropdown menu options below. You can also enable or disable default values that automatically fill in for every lead.
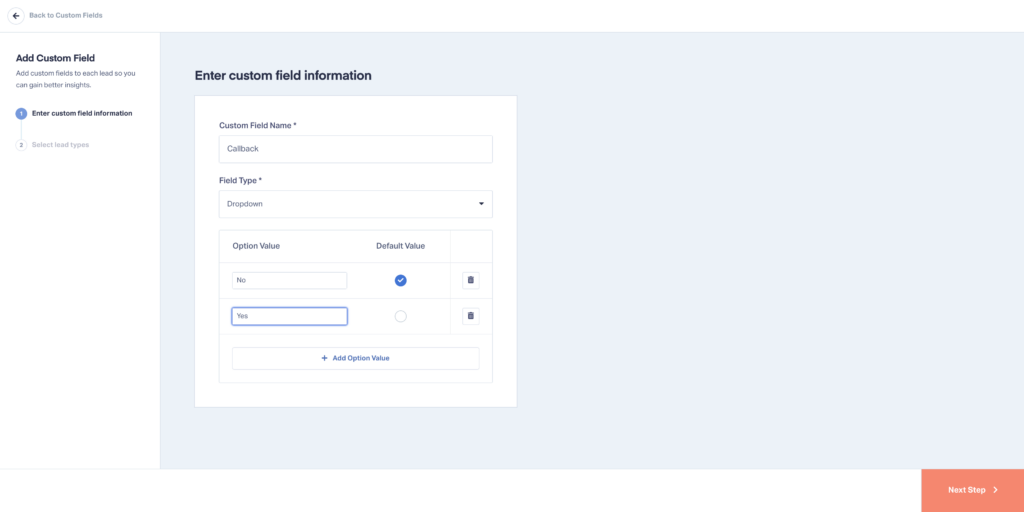
- Once you’re finished defining your Custom Field, select “Next Step” and choose which types of leads you want to add your Custom Field to (all lead types are selected by default).
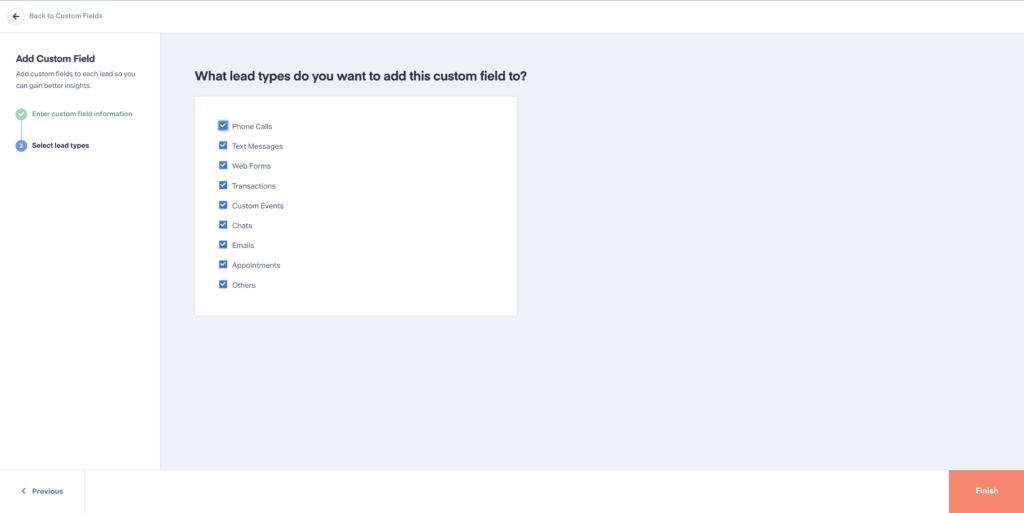
- Hit “Finish” and you’ll be redirected back to the Custom Fields menu. You can then delete or edit your Custom Fields whenever you’d like from this screen.
- Now you’ll be able to add values for Custom Fields from within the Lead Manager columns or in the Lead Details section.
That’s it!
For more detailed information on how to set up custom fields, check out the guide below.
Need Help?
Our support team is happy to help you set up your Custom Fields.
Get a FREE presentation of WhatConverts
One of our marketing experts will give you a full presentation of how WhatConverts can help you grow your business.
Schedule a Demo
Grow your business with WhatConverts


