


Add an Alert
Alerts keep you informed about important lead changes. They show key updates in the Alerts Center and can notify your team by email, so you don't have to constantly check the dashboard to stay on top of what matters (e.g., If lead volume drops 50% in a week, you'll know instantly).
Create an Alert
To create an Alert:
- Go to your Master Account or Profile Settings. Select "Alerts".
- Click "+ Create Alert".
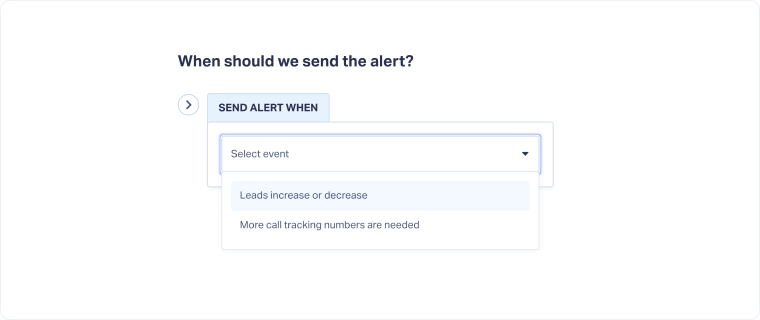
- Under Send Alert When, select the event that should trigger the Alert:
- Leads increase or decrease: Receive notifications when there's a significant increase or decrease in your lead volume over a specific time period.
- More call tracking numbers are needed: Get notified if all the tracking numbers in a number pool have been checked out within a specific time period.
- Configure the Alert settings:
- Configure Alerts to know when a lead increase or decrease happens.
- Configure Alerts to know when more call tracking numbers are needed.
- Check "Enable alert after saving" to activate it.
- Click "Save Alert".
Note: When an alert is triggered, you’ll get a notification in the Alerts Center and an email sent to the selected addresses.
Manage Your Alerts
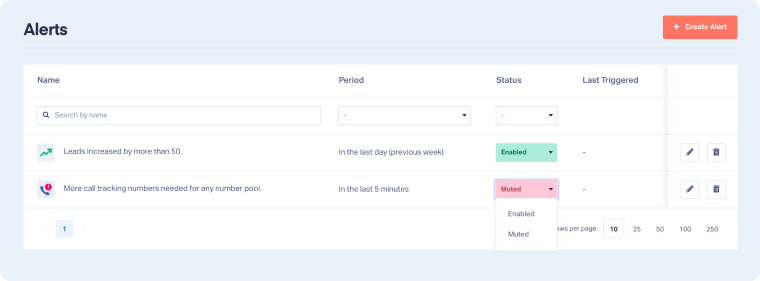
Once you've created alerts, you can enable or mute them to stay focused on what matters most.
To enable or mute an Alert:
- Go to your Master Account or Profile Settings. Select "Alerts".
- Use the Status column to enable or mute an Alert.
Tip: To quickly mute alerts from the dashboard, check out Use the Alerts Center.
Edit an Alert
To update an Alert:
- Go to "Alerts".
- Click "Edit Alert" on the one you want to update.
- Make your changes.
- Click "Save Alert".
Delete an Alert
To delete an Alert:
- Go to "Alerts".
- Find the Alert you want to update and click "Delete Alert".
- Click "Delete Alert" on the one you want to remove.
- Click "Delete Alert" again to confirm.
Related Topics
Get a FREE presentation of WhatConverts
One of our marketing experts will give you a full presentation of how WhatConverts can help you grow your business.
Schedule a Demo


