


Send WhatConverts Data to Cyfe with Zapier
Send WhatConverts lead data to your Cyfe dashboard using Zapier.
Before You Begin
Make sure you have:
Create a Cyfe Push API Widget
- Log in to Cyfe and navigate to your dashboard.
- At the top left of the page, click "Add Widget".
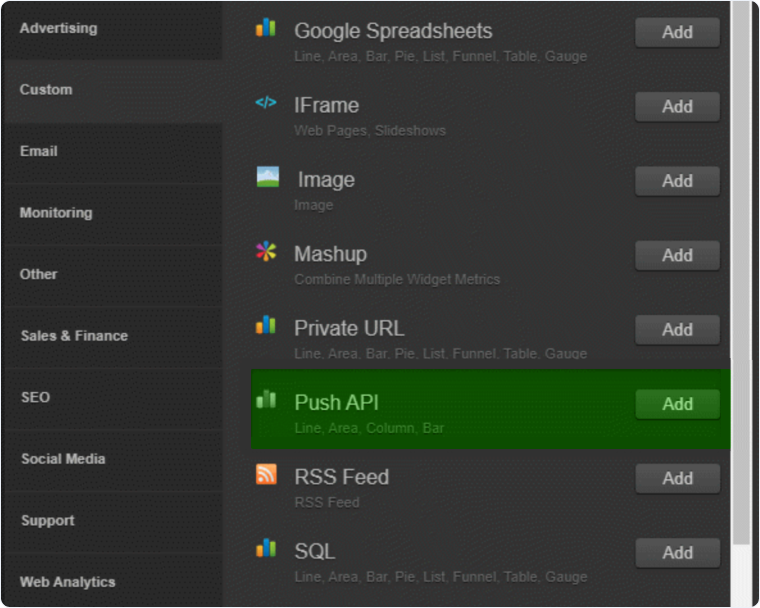
- Select "Custom," then "Push API".
- Configure your widget settings:
- Give your widget a descriptive name
- Select the chart type you want for displaying your data
- Click "Copy" to copy the API Endpoint
- Keep this window open as you'll need the API Endpoint in the next steps.
Set Up the Zapier Workflow
- Go to Zapier and click "Create Zap".
- Select "WhatConverts" as your Trigger App.
- Choose "New Lead" as your Trigger Event and click "Continue".
- Connect your WhatConverts account to Zapier or select your existing connection.
- Click "Continue".
Configure the Trigger
- On the Set up trigger page, select the lead types you want to send to Cyfe (Phone Call, Web Form, Chat, or Transaction).
- Select your WhatConverts profile from the dropdown.
- Click "Continue".
- Click "Test trigger" and select a recent lead to test with.
- Click "Continue".
Connect Cyfe
- Select "Cyfe" as your Action App.
- Choose "Push Value" as your Action Event and click "Continue".
- In the Set up action section:
- Paste your API Endpoint from Cyfe in the "Push API Endpoint" field
- Select "Lead Type" from the dropdown for the Metric Name field
- Configure any additional metrics for your widget
- Click "Continue".
Test and Activate Your Workflow
- Click "Test action" to send test data to Cyfe.
- Return to your Cyfe dashboard and verify that the test data appears in your widget.
- Back in Zapier, click "Publish".
Related Topics
Was this page helpful?
Get a FREE presentation of WhatConverts
One of our marketing experts will give you a full presentation of how WhatConverts can help you grow your business.
Schedule a Demo


