


Connect WhatConverts to Zapier
The Zapier Integration allows you to connect WhatConverts to thousands of other applications to automate workflows, send leads to your CRM, and streamline processes without custom development. This article will guide you through connecting your WhatConverts account to Zapier using two different methods.
Note: Zapier offers free plans that work with most integrations. However, some complex integrations may require a paid Zapier plan depending on the number of steps or features needed.
Before You Begin
To set up this integration, you will need:
- A Zapier account
- Your WhatConverts API key:
- For Master Account integrations: Generate a Master API Key
- For Profile integrations: Generate a Profile API Key
About Master Account vs. Profile Level Connections
- Profile Level (Recommended for most users): Connect each individual WhatConverts profile to Zapier separately. This is the simplest method and ensures clear separation between different accounts.
- Master Account Level: Use one Master Account API Key to authorize Zapier, then configure individual Zaps for each profile. This reduces the number of authorization steps when managing multiple profiles.
Note: Zapier integrations require connecting at the Profile Level. Each Zap must be connected to a specific WhatConverts profile. While you can use a Master Account API Key for authorization, every Zap automation must still target a specific profile.
Tip: Use Profile-level API keys unless you manage many profiles and prefer to authorize once with a Master Account key.
Method 1: Connect to WhatConverts from Within Zapier
This method allows you to connect WhatConverts using API credentials from your Zapier dashboard.
Follow these steps:
- Log in to your Zapier account.
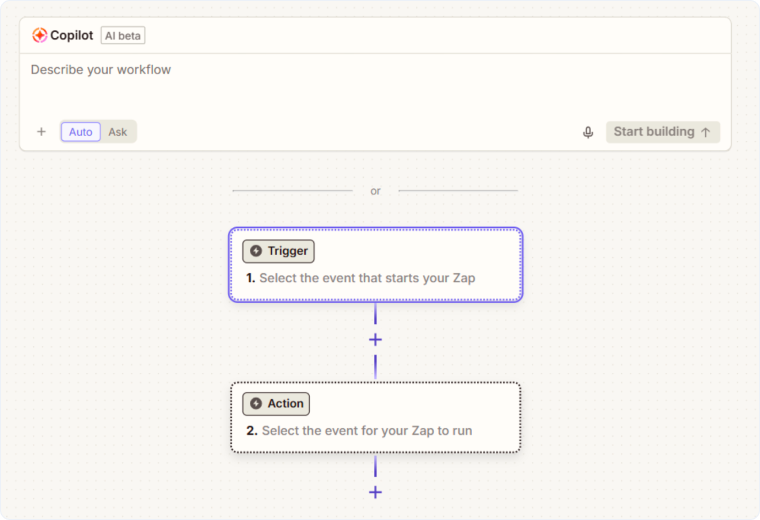
- In the left-hand menu, click “+ Create”, then Click “Zaps”,
- Use the AI Copilot to enter the integration you are setting up, or click the Trigger Box and then search “WhatConverts”.
- In a separate browser tab, navigate to your WhatConverts account to retrieve your API Token and API Secret:
- For Master Account integrations: Reference Generate a Master API Key
- For Profile integrations: Reference Generate a Profile API Key
- Return to Zapier and paste the API Token and API Secret into the appropriate fields.
- Click “Yes, Continue” to complete the connection.
Once connected, you can set up Zapier workflows at the Master or Profile account level.
Method 2: Connect to Zapier from Within WhatConverts
This method allows you to authorize Zapier directly from your WhatConverts account with one click.
Follow these steps:
- From your WhatConvert account, navigate to the Zapier integration module:
- For the Master Account level: access Master Integrations from the Master Accounts settings.
- For the Profile level: click “Tracking” in the top menu, then select “Integrations” at the profile level.
- For Profile level, click the “Automation” tab. For the Master Account, skip to the next step.
- In the Zapier module, click “Connect”.
- Click the orange “+ Add Connection” button.
- You'll be redirected to Zapier. If you're already logged into Zapier, you'll be prompted to authorize your WhatConverts connection.
- Click “Authorize” when prompted.
Once authorized, you can set up triggers and workflows in Zapier using your WhatConverts account.
Set Up Your First Zap
After connecting WhatConverts to Zapier, you're ready to create your first automation. Please refer to the following articles for assistance with the Triggers and Actions that WhatConverts offers:
Triggers
Actions
- Create a Lead Export with Zapier
- Create a Lead in WhatConverts with Zapier
- Update a Lead in WhatConverts with Zapier
- Find or Create a Lead in WhatConverts with Zapier
Related Topics
Get a FREE presentation of WhatConverts
One of our marketing experts will give you a full presentation of how WhatConverts can help you grow your business.
Schedule a Demo


