


Import New Leads with the Lead Import Tool
The Lead Import Tool lets you import new leads captured outside of WhatConverts (such as from a CRM, spreadsheet, or offline events) so you can centralize all your data in one place.
You can use it to:
- Import new leads that don’t yet exist in WhatConverts.
- Bring in historical lead data to complete reporting and ROI tracking.
Start with the article Use the Lead Import Tool for an overview of how the process works.
Step 1: Access the Lead Import Tool
The Lead Import Tool is available at the profile level.
- Go to the Profile Settings and click “Lead Import / Update”.
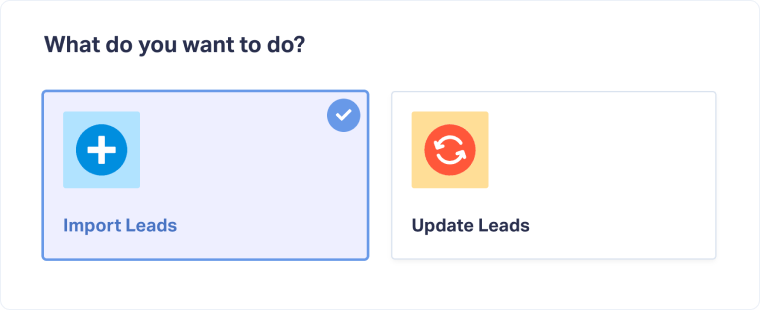
- Click “Import / Update Leads”.
- Select “Import Leads”.
Step 2: Prepare and Upload Your CSV File
Before importing, prepare your CSV file and upload it to WhatConverts.
- Prepare your file. Consider the following:
- Save your file in CSV format.
- Include the mandatory columns: Date Created, Lead Type, and Timezone.
- Use the Help Center sidebar to:
- Access a detailed guide to prepare your file: Prepare Your Lead Import CSV File
- Download the CSV template, which includes all standard columns (delete unused ones).
- Upload the file and click “Continue”.
Note: The limit is 500 leads per CSV file. If you need to import more than 500 leads, split them into multiple files.
Note: If you’re importing data from a CRM, you can often use an export file from the CRM as a starting point, and adjust it to include the required columns and all the fields needed to match your WhatConvert setup.
Step 3: Map Your Columns
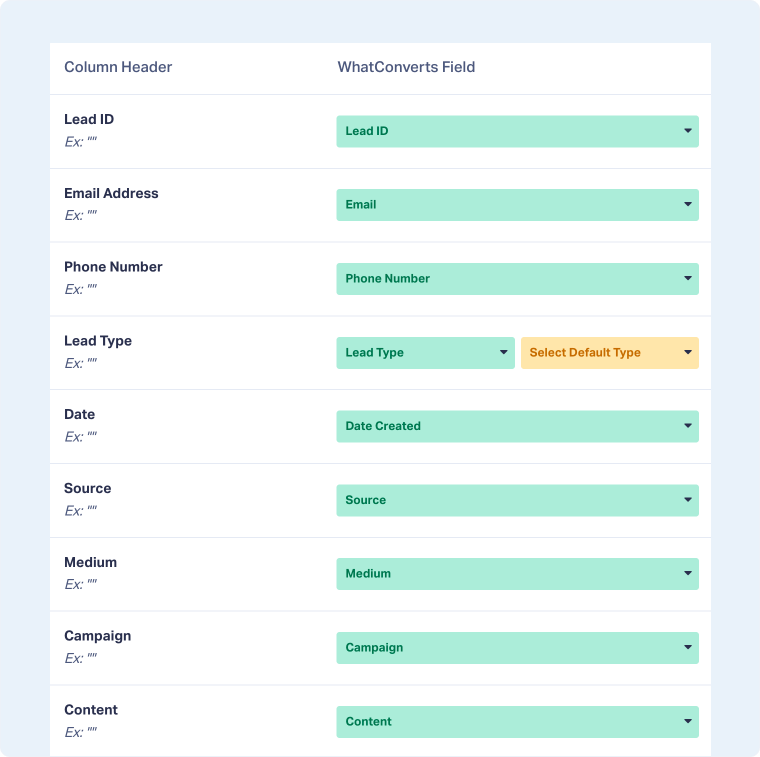
During import, the system maps each CSV column to the correct WhatConverts standard field.
- Review the field mappings:
- Green fields: Mapped automatically by the system. Review them to ensure accuracy.
- Yellow fields: Need to be mapped manually. Fields left unmapped will be skipped.
- Choose the correct mapping for Custom Fields and Additional Fields (if importing any):
- Select “Custom Field” if you want data to appear in the Custom Fields section.
- Select “Additional Field” if you want data to appear in the Conversion Details section.
- Choose a Default Lead Type for all imported leads. If any record has a blank Lead Type, the default will be assigned automatically.
- Click “Continue”.
Tip: The Help Center sidebar within the import tool highlights which fields are required before you can proceed.
Note: If your file includes a column that doesn’t match any existing field in WhatConverts, you can import that data into a Custom Field or an Additional Field.
Step 4: Review and Confirm
Once all fields are mapped:
- Review the Lead Import Overview, which shows:
- Total number of leads in your file.
- Any leads with errors (these will be skipped).
- Billing confirmation to ensure your account has sufficient funds.
- Approve the additional costs for importing leads.
- Click “Import Leads” to start the process.
- Wait for the success message before closing the tab.
- Click “Finish”.
Tip: Keep the import window open while it runs to ensure all leads are successfully processed.
Related Topics
Get a FREE presentation of WhatConverts
One of our marketing experts will give you a full presentation of how WhatConverts can help you grow your business.
Schedule a Demo


