

Set Up Calendly Tracking
To track Calendly appointments in WhatConverts, you will need two things:
- The WhatConverts tracking script to capture marketing attribution.
- A Zapier workflow (Zap) that creates the lead in WhatConverts when a Calendly appointment is booked.
Tip: This method is recommended for users who are not on the Elite or Agency Elite plans. If you are on one of those plans, we recommend using the built-in integration instead. See
Before You Start
- You must have a Calendly Standard, Teams, or Enterprise plan.
- Make sure the WhatConverts tracking script is installed on your website and placed above the Calendly embed code.
Note: If your site uses the WhatConverts WordPress Plugin, deactivate it and add your WhatConverts tracking script to your page either manually or via a different plugin. The tracking script must be placed above the Calendly embed code.
Step 1: Add the Custom Calendly Code
To capture marketing data for Calendly bookings, you will replace your existing Calendly embed code with the custom WhatConverts code.
To add the code:
- Open the page where your Calendly scheduler appears.
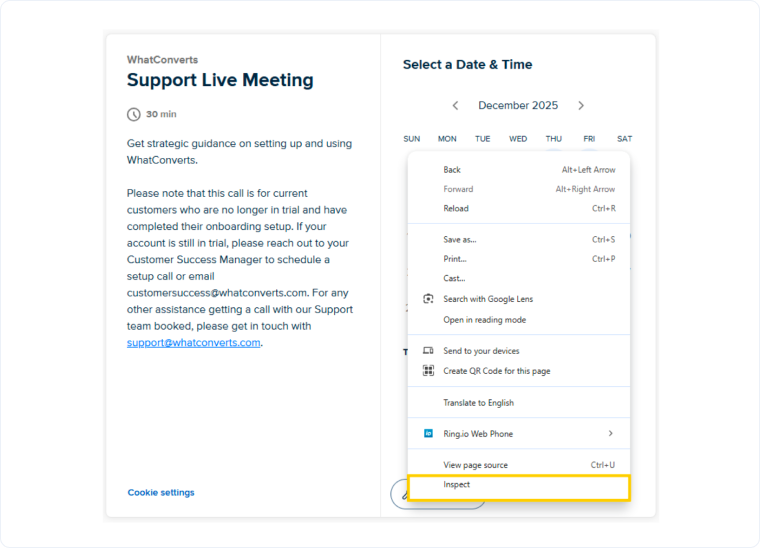
- Right-click on the scheduler and select “Inspect”.
- Locate the Calendly iframe in the code and copy its src URL.
- Remove your existing Calendly embed code.
- Add the code below, replacing TheCopiedIFrameSourceURL with your copied iframe src URL:
<iframe id="iframe-website" width="100%" height="800" frameborder="0"></iframe> <script type="text/javascript"> wc_iframe_ypbib('TheCopiedIFrameSourceURL', 'iframe-website'); </script> - Refresh your page and submit a test appointment.

Step 2: Create the Zap in Zapier
Zapier will send Calendly appointment details to WhatConverts as a new lead.
Create the Trigger
- Log in to Zapier and click “Create” to start a new Zap.
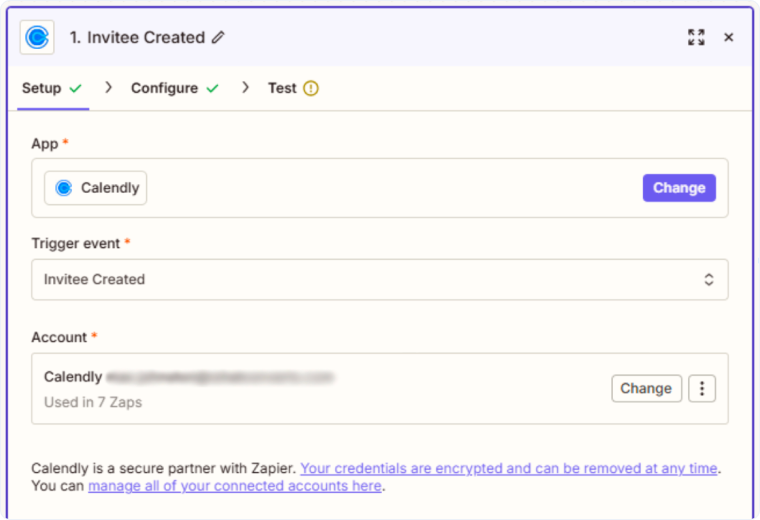
- For the Trigger App, select “Calendly”.
- For the Trigger Event, select “Invitee Created”.
- Connect your Calendly account.
- Click “Continue”.
- On the Configure page:
- For the Event Type, select the calendar you want to track.
- Click “Continue”.
- On the Test page, click “Test Trigger” to pull in the test appointment from Step 1.
- Click “Continue with selected record”.
Create the Action
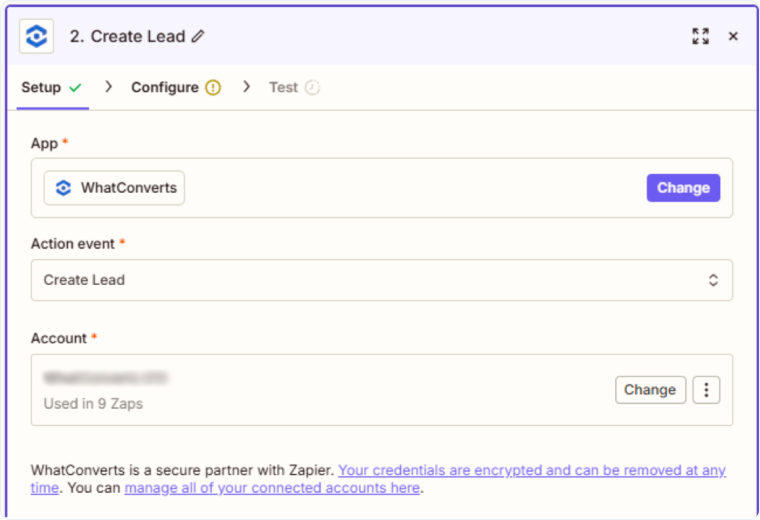
- For the Action App, select “WhatConverts”.
- For the Action Event, select “Create Lead”.
- Connect your WhatConverts account.
- Click “Continue”.
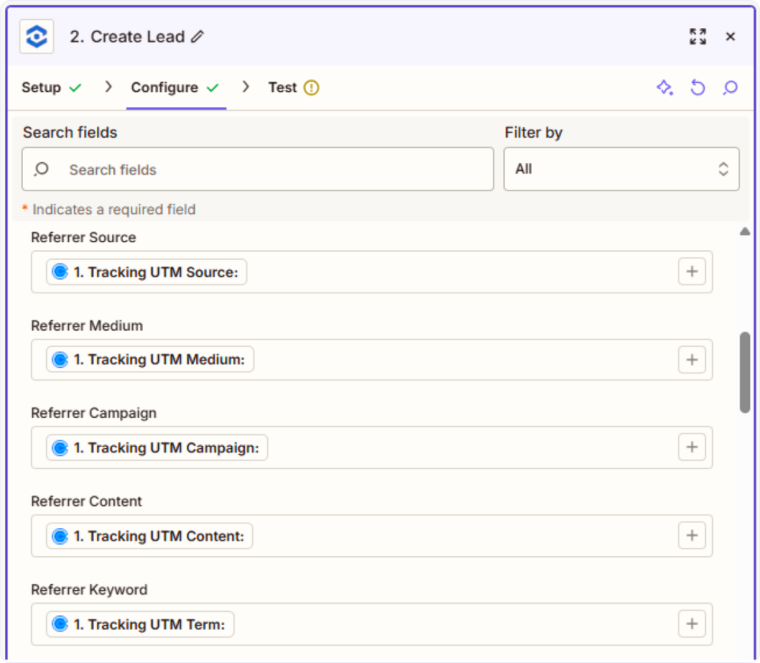
- On the Configure page, map the following fields:
- Lead Type: Appointment
- Profile: Select your WhatConverts profile
- Referrer Source: Tracking UTM Source
- Referrer Medium: Tracking UTM Medium
- Referrer Campaign: Tracking UTM Campaign
- Referrer Content: Tracking UTM Content
- Referrer Keyword: Tracking UTM Term
- Email Address: Invitee Email
- Additional Fields: Map any relevant Calendly fields (Name, Phone Number, Appointment Questions, or other responses)
- Click “Continue”.
- On the Test page, click “Test step” to send the test lead to WhatConverts.
- Click “Publish”.
Note: Calendly only accepts Source, Medium, Campaign, Content, and Keyword dynamic information from WhatConverts. The GCLID and MSCLKID are not passed, which means conversions cannot be sent back to Google Ads or Bing Ads.
Step 3: Verify Your Lead in WhatConverts
- Log in to your WhatConverts profile.
- Open the Lead Manager.
- Find your test appointment and confirm that both the lead details and marketing data are correct.
Related Topics
Get a FREE presentation of WhatConverts
One of our marketing experts will give you a full presentation of how WhatConverts can help you grow your business.
Schedule a Demo