

Contact Form 7 Form Tracking
Note: Add the WhatConverts tracking script to your site if you have not already done so.
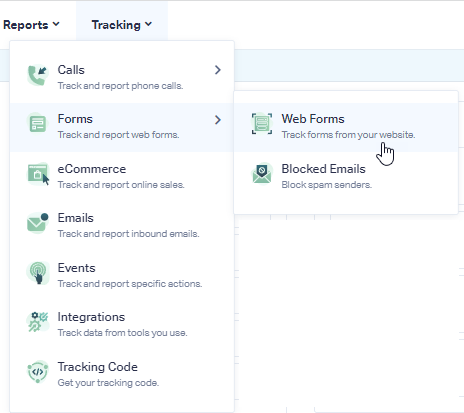
1Log into your WhatConverts profile, select the "Tracking" top menu item, then "Forms". Select "Web Forms".
Click "Add Web Form".
2Select "Form Finder". Enter the URL your form is on. Click "Find Form".
Note:
- Use the URL your form is located on. For example, if your form is on the contact page, use https://www.YourWebsite.com/contact.
Select the form with the Class attribute of wpcf7-form.
![]()
Click "Finish".
3Go to the URL your form is located on. Fill out and submit your form.
Go back to your WhatConverts profile. Select "Leads" from the top menu. Scroll down to the Lead Manager. You should see your test form submission in the list.
![]()
To review the full Lead Details for the submission, including all of the form input data. Click "View Lead" as shown in the image above.
Troubleshooting Contact Form 7 plugin for WhatConverts Tracking.
By default, all Contact Form 7 forms use the same Form Class attribute. If you want to separate out the different Contact Form 7 Form Tracking in WhatConverts, we need a unique Form ID or Class attribute to track form submissions.
You can add any "ID" and "Class" to a Contact-form-7 form by adding the "html_id" and "html_class attributes" into a [contact-form-7] short code. Example:
[contact-form-7 id="1234" title="Contact form 1" html_id="contact-form-1234" html_class="form contact-form"]
Source: FAQ from Contactform7.com
![]()
If you have any questions, please contact us here: Contact WhatConverts Support or email support@whatconverts.com
Get a FREE presentation of WhatConverts
One of our marketing experts will give you a full presentation of how WhatConverts can help you grow your business.
Schedule a Demo


