


Configure a Schedule Step in a Call Flow
A Schedule Step in your Call Flow routes calls based on the date and time of the call. This allows you to direct callers to different destinations during business hours versus after hours, or change routing for holidays and special events.
Add and Configure a Schedule Step
To add and configure a Schedule Step in an existing Call Flow:
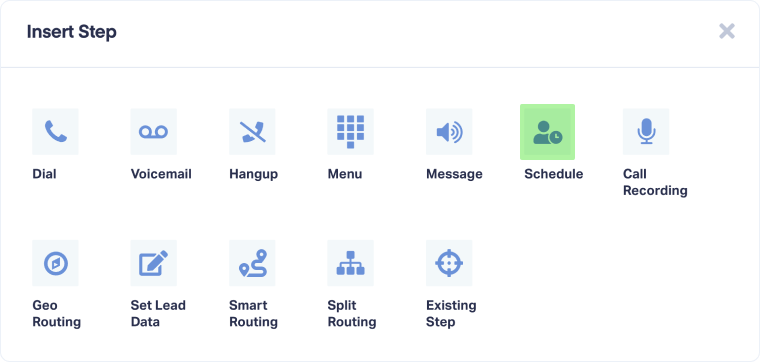
- Open the Call Flow and add a new step.
- Select "Schedule" from the available step options.
- Enter a descriptive name for the step (e.g., Business Hours, Holiday Schedule, Weekend Routing).
- Under "Select timezone", choose the timezone to use for checking dates and times from the dropdown (e.g., New York (GMT-05:00)).
- Under "Select Days of the Week", click to select which days this schedule applies to (Sunday through Saturday). Multiple days can be selected.
- Optionally, under "Start Date":
- Toggle "Yes" to set a specific start date
- Select month, day, and year from the dropdowns
- Leave as "No" if the schedule should start immediately
- Optionally, under "End Date":
- Toggle "Yes" to set a specific end date
- Select month, day, and year from the dropdowns
- Leave as "No" if the schedule should continue indefinitely
- Optionally, under "Start Time":
- Toggle "Yes" to set a specific start time
- Select hour, minute, and AM/PM from the dropdowns
- Leave as "No" if the schedule doesn't change
- Optionally, under "End Time":
- Toggle "Yes" to set a specific end time
- Select hour, minute, and AM/PM from the dropdowns
- Leave as "No" if the schedule doesn't change
- Optionally, click "+ Add New Date & Time Range" to create additional scheduling rules.
- Click "Save Changes" to apply the Schedule Step.
After the Schedule Step, add routing steps for when the schedule conditions are met (connected to the checkmark path) and when they're not met (connected to the X path).
Tip:Use Schedule Steps for business hours routing. Create one path for "During Business Hours" (route to team) and another for "After Hours" (route to voicemail or after-hours message).
Note: Schedule Steps have two routing paths: one for when the schedule matches and one for when it doesn't. Connect both paths to ensure calls are always routed.
Related Topics
Get a FREE presentation of WhatConverts
One of our marketing experts will give you a full presentation of how WhatConverts can help you grow your business.
Schedule a Demo


