

How to Enable SSO Authentication
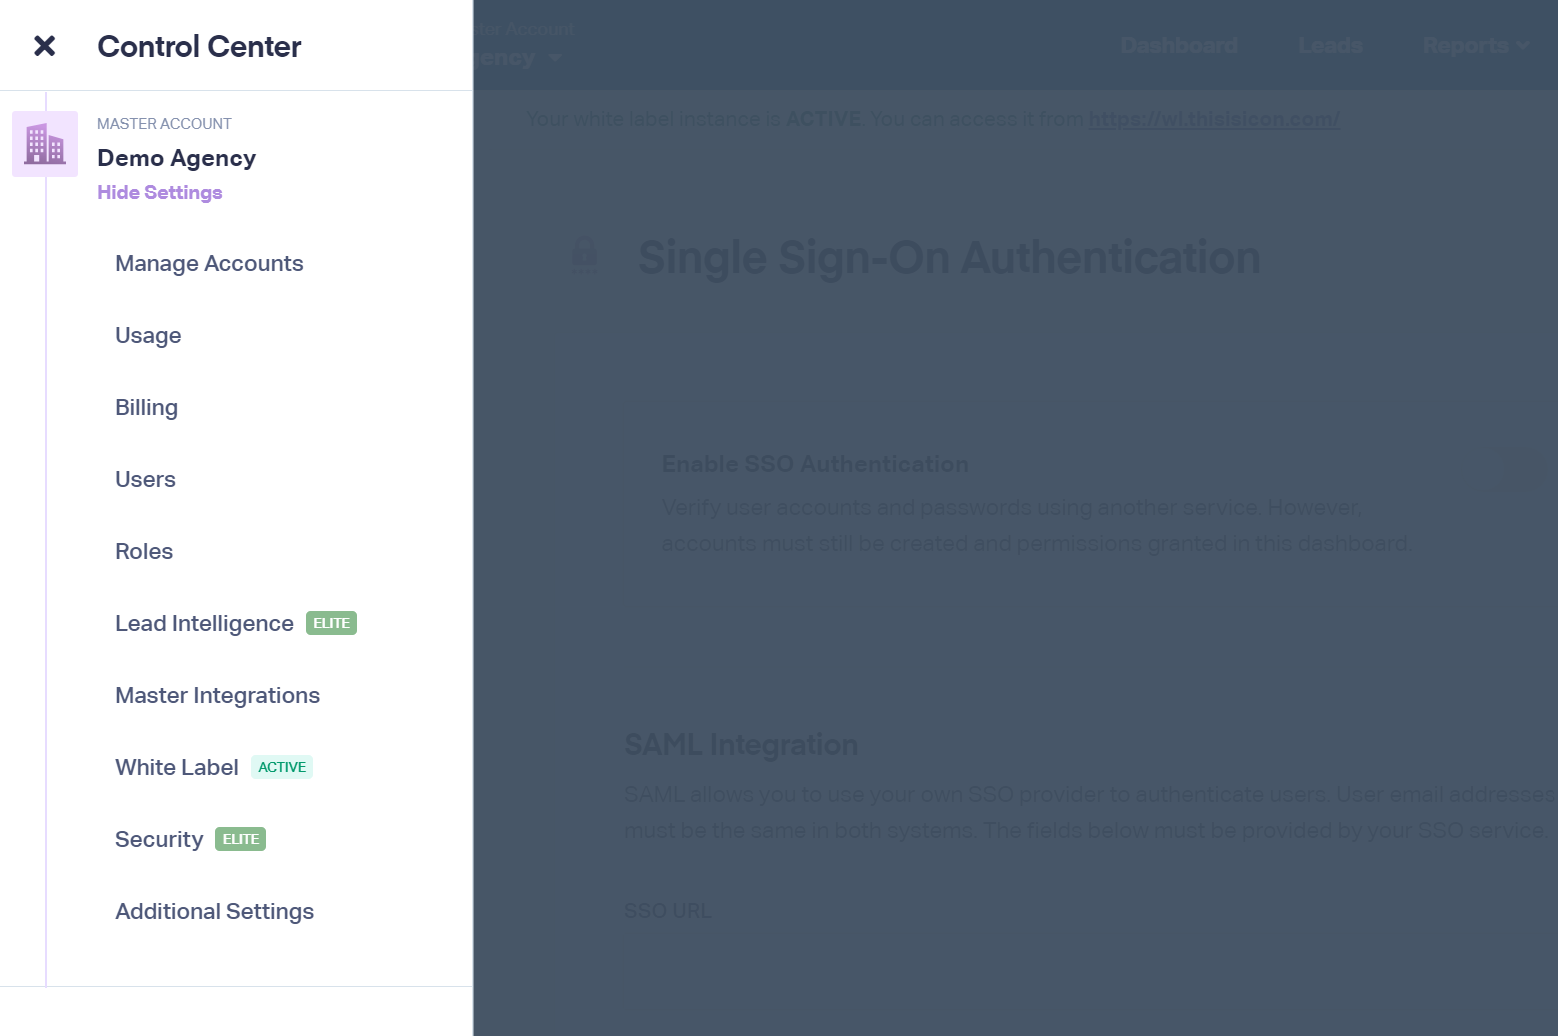
1Log into your WhatConverts master account, expand the navigation panel on the left side and click "Show Settings" and select "Security" in the left panel.
2Click “SSO Authentication” in the left panel.
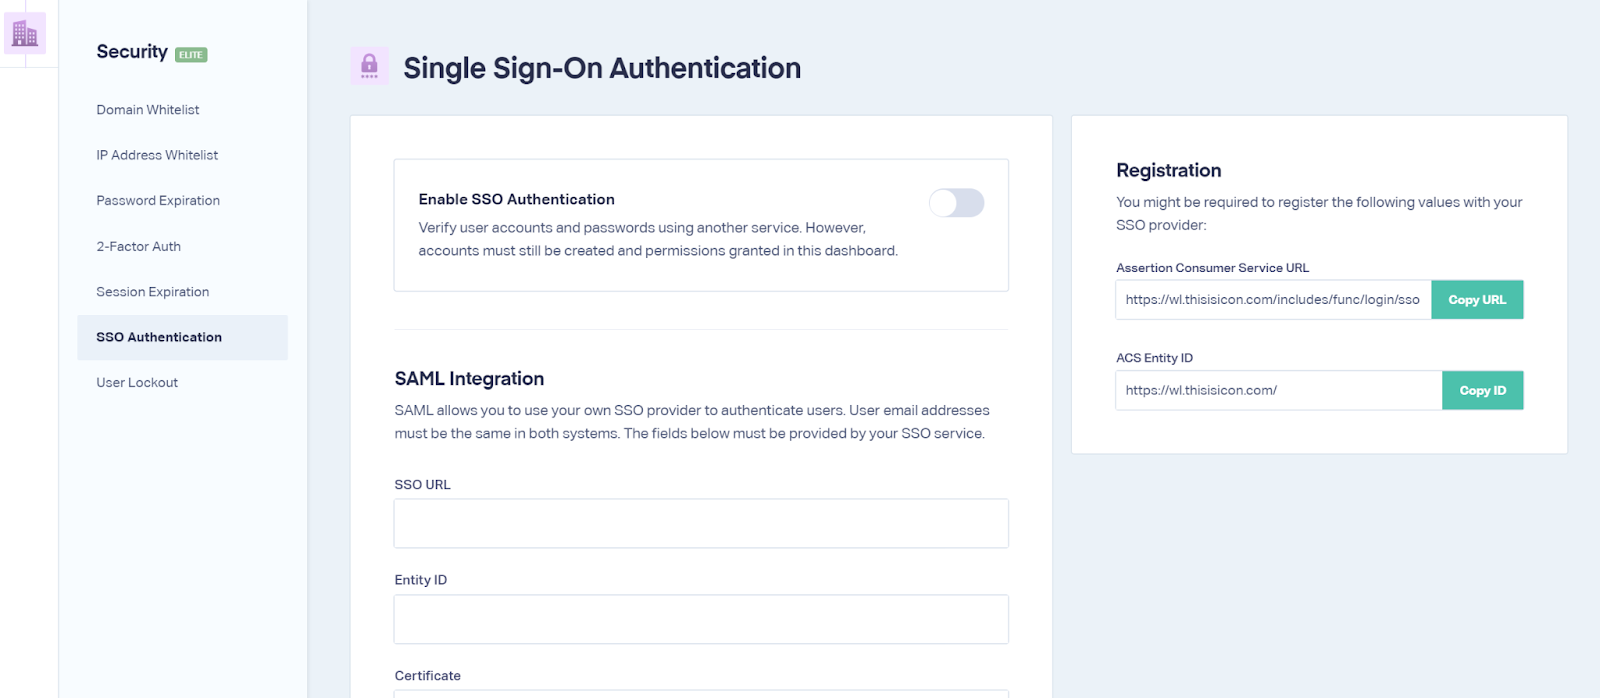
3Fill in the required information:
SSO URL: Users trying to sign in to WhatConverts will be redirected to this URL of your identity provider (idP).
Entity ID: The entity ID is a URL where your idP publishes public metadata information about its SAML configuration.
SAML Certificate: Enter the public key into the SAML Certificate field. The certificate must be a CER, CRT, CERT, or PEM file.

4Click “Update SSO Authentication”.
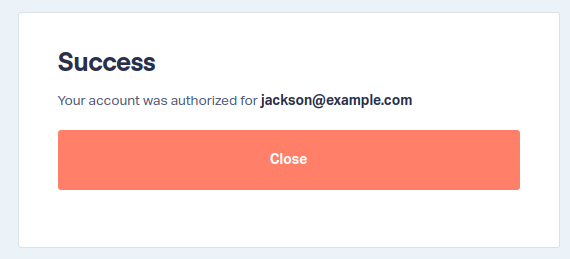
5Click “Test SSO Settings”. You will be prompted by your idP to login with your credentials. A successful test will look like the picture below.
6Click “Enable SSO Authentication”.
Note: Please confirm you have invited employees to your idP before enabling SSO integration. Once you have turned off password-based login capabilities by enabling the SSO, employees who currently have access to this application will lose access until they have created an account with your idP.
If you encounter errors, you can turn the Single Sign-On setting off by disabling the “Enable SSO Authentication” slider toggle.
Get a FREE presentation of WhatConverts
One of our marketing experts will give you a full presentation of how WhatConverts can help you grow your business.
Schedule a Demo


