


Track Contact Form 7 Web Forms
Contact Form 7 is one of the most popular WordPress form plugins, used by millions of websites to create contact forms, quote request forms, and other web forms. WhatConverts can automatically track Contact Form 7 submissions using the Form Finder tool, which detects forms on your website and captures lead data without requiring manual configuration.
Note: The WhatConverts tracking script must be installed on your website before you can track Contact Form 7 Forms.
Set Up Contact Form 7 Form Tracking
To track Contact Form 7 submissions with WhatConverts:
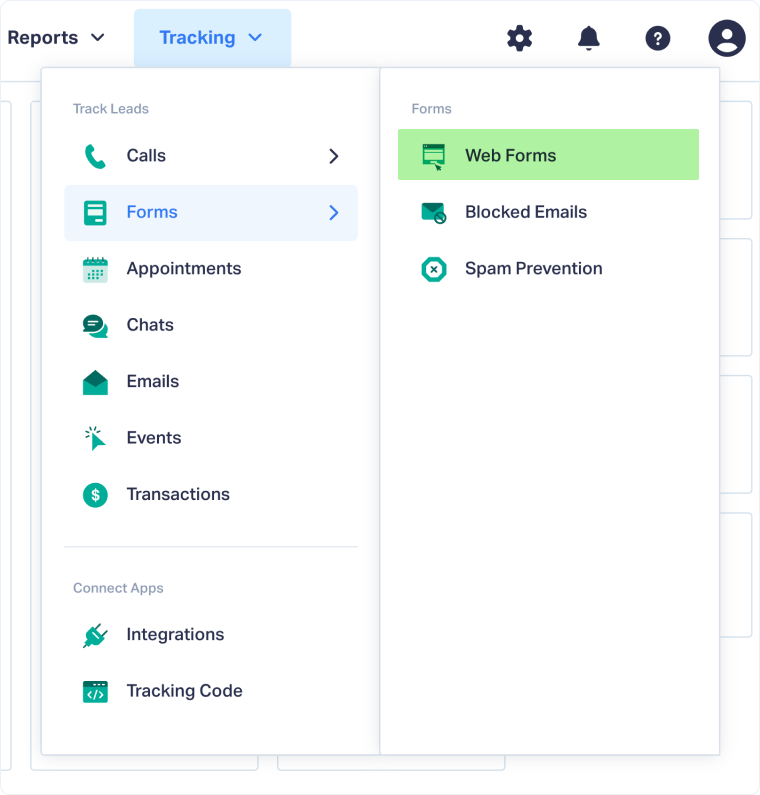
- From your WhatConverts profile, go to "Tracking" from the top menu then select "Forms".
- Click "Web Forms".
- Click "Add Web Form".
- Select "Form Finder".
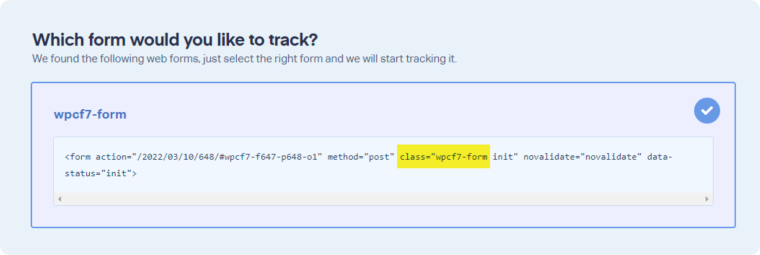
- In the "Form Finder" tool, enter the URL where your Contact Form 7 is located (e.g., https://www.yourwebsite.com/contact).
- Click "Find Form".
- From the list of forms, select the form that has wpcf7-form in the Class attribute.
- Click "Finish".
Your Contact Form 7 is now being tracked. WhatConverts will capture all submissions from this form and create leads with full attribution data.
Test Your Contact Form 7 Tracking
After setting up tracking, verify that form submissions are being captured correctly:
- Go to the URL where your Contact Form 7 is located.
- Fill out the form with test information and submit it.
- Return to your WhatConverts profile and view your form leads.
- Find the test form submission and check its data.
If your test lead appears correctly, your Contact Form 7 tracking is working properly.
Related Topics
- What is Web Form Tracking?
- Track Web Forms Automatically with the Form Finder
- Track Caldera Web Forms
- Track Gravity Web Forms
- Track Ninja Web Forms
Get a FREE presentation of WhatConverts
One of our marketing experts will give you a full presentation of how WhatConverts can help you grow your business.
Schedule a Demo


